An asset is marked with HideFlags.DontSave but is included in the build: Asset: 'Library/unity editor resources' Asset name: Font Material (You are probably referencing internal Unity data in your build.) UnityEditor.BuildPlayerWindow:BuildPlayerAndRun()
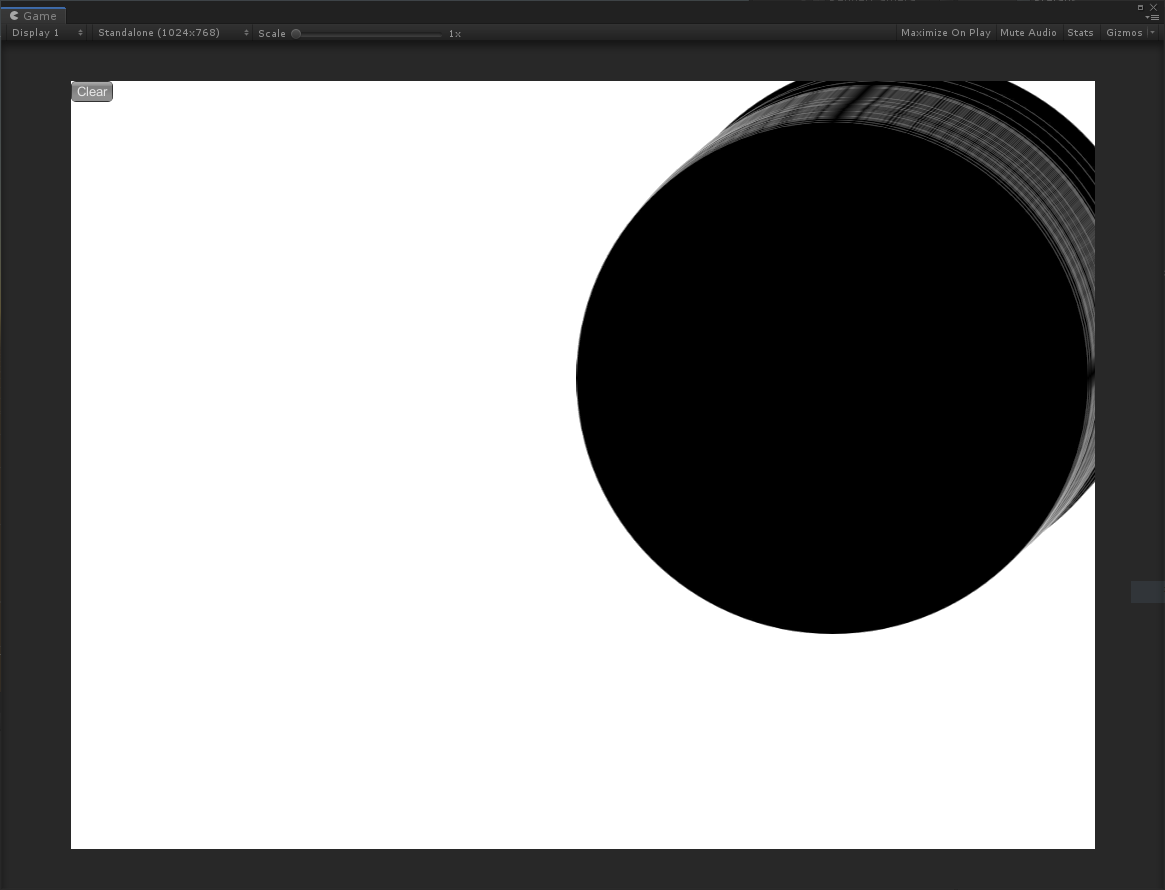
Unity 를 이용해 그림판 같은 기능을 구현하는 중에 겹치는 이미지의 테두리가 흰색으로 나타나는 현상이 발생 하였다.
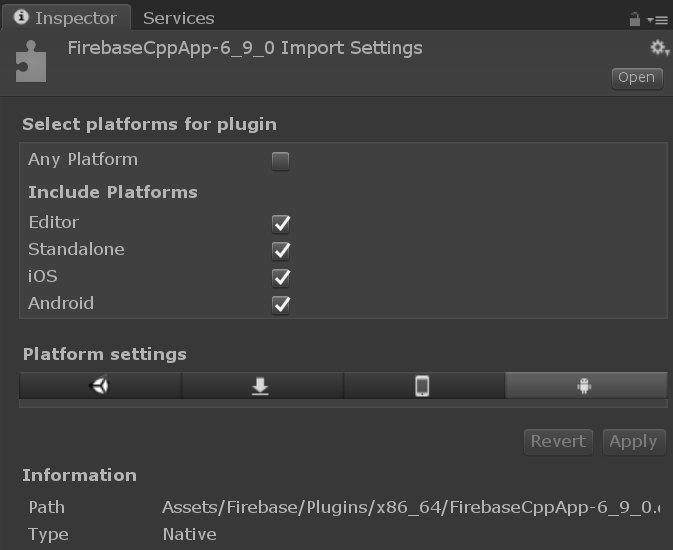
위 화면은 Canvas 에 검정색 원 Image 여러개가 겹쳐 있고 이를 RenderTexture 를 통해 RawImage 로 출력하고 있는 예제 이다. 사용한 이미지는 아래와 같은 설정이 되어 있다.
Scene 화면을 통해 RawImage 의 테두리 부분을 확대해 보면 다음과 같이 투명하게 처리가 되고 있는 것이 보였다.
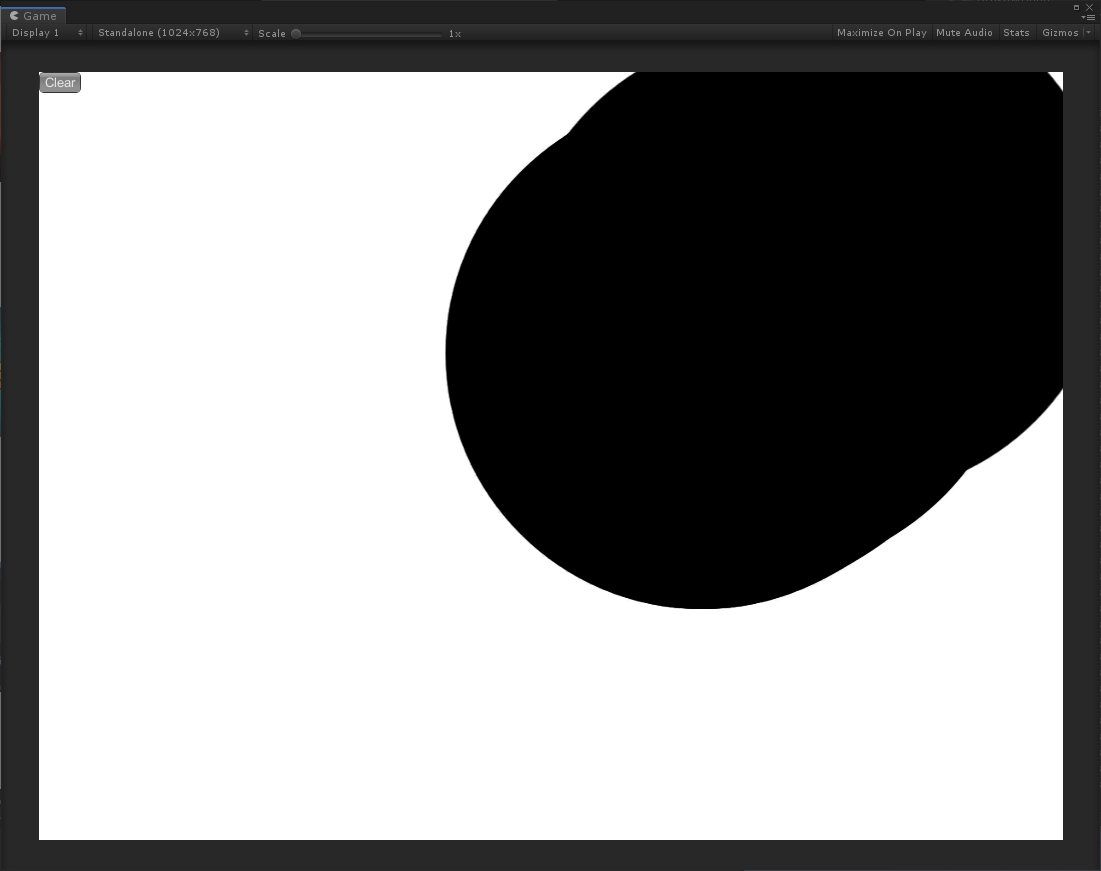
RenderTexture 로 그려주던 Canvas 를 메인으로 돌려보면 아래와 같이 의도 했던 대로 출력이 된다.
1. 이미지 테두리 부분의 픽셀이 기존 픽셀과 겹쳐지면서 혹은 덮어 쓰면서 해당 픽셀을 투명하게 바꾸고 있다.
2. RenderTexture 로 변환되 RawImage 로 출력하는 과정에서 테두리 부분이 투명해 지는 현상이 일어난다.
1. 이미지가 문제가 있다
2. RenderTexture 가 잘못 그려주고 있다
3. RawImage 가 잘못 출력하고 있다.
이미지에 육안으로 확인 되지 않는 투명한(?) 부분이 있다고 가정하고 이를 보정하는 것은 어떨까? 로 시작해 쉐이더를 추가한 Material 을 추가해 보았다.
그 결과 이미지에 Sprites/Default 쉐이더를 사용하는 Material 을 사용하니 간섭 현상이 사라졌다. Material 이 추가되지 않은 이미지의 기본 쉐이더는 UI/Default 쉐이더인데 Sprites/Default 쉐이더와의 차이가 이런 현상을 만드는 것 같다.
UI/Default 쉐이더 코드와 Sprite/Default 쉐이더 코드를 비교하며 테스트 했더니 다음과 같이 수정해 문제 해결이 가능했다.
- UI/Default 쉐이더의 Blend SrcAlpha OneMinusSrcAlpha 값을Blend One OneMinusSrcAlpha 값으로 변경
Blend - 투명 오브젝트를 만드는데 사용합니다.
SrcAlpha - 스테이지 값을 소스 알파 값으로 곱합니다.
One -1값입니다. 소스 또는 대상 컬러가 완전히 표시되도록 하려면 이 값을 사용합니다.
정리하자면 소스 알파 값이란 새로 그려진 이미지의 알파 값이고 스테이지 값은 기존 화면에 그려져 있는 값인데 이둘을 곱하면 새로 그려진 이미지의 알파값을 따라가기 때문에 이를 1값으로 변경해 새로 그려진 이미지의 알파 값을 따라가지 않게 수정 함으로써 해결 됬다고 생각한다.
위와 같은 문제 때문이 었다면 RenderTexture 를 통하지 않고 직접 그리는 이미지에서도 해당 상황이 재현되야 하지 않을까?하지만 직접 그리는 이미지에서는 해당 이슈가 발생하지 않는다.
RenderTexture 설정이 잘못되어 출력이 잘못 되고 있는 것은 아닐까?
RenderTexture 의 Color Format 설정을 바꿔보니 다음 두 경우에 원했던 형태의 출력이 되는 것을 확인 하였다.
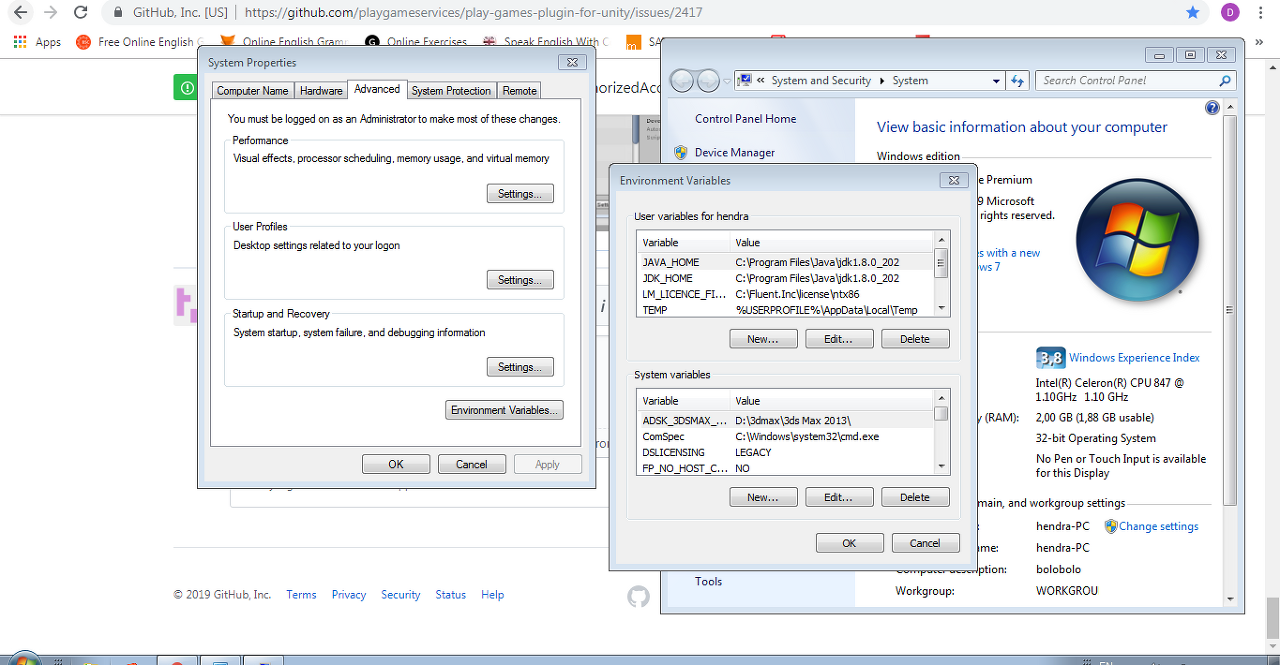
I encountered a very similar issue and found it was caused by the antivirus software. By suspending the antivirus process, I was able to work around the problem.
Try configuring your AV to "exclude" your project directory, but if that fails then you'll need to either disable or temporarily suspend the AV's process.
This release is not compliant with the Google Play 64-bit requirement
The following APKs or App Bundles are available to 64-bit devices, but they only have 32-bit native code: 93.
Include 64-bit and 32-bit native code in your app. Use the Android App Bundle publishing format to automatically ensure that each device architecture receives only the native code it needs. This avoids increasing the overall size of your app.
* What went wrong: Execution failed for task ':packageRelease'. > 1 exception was raised by workers: java.io.UncheckedIOException:java.io.IOException: Failed to obtain compression information for entry
해결책은 아래와 같다.
Minify-Release/Debug가 기본 None인데, 업데이트 되면서 값을 넣어야 되나보다.
Proguard 이야기도 있긴한데, 우선 아래 보이는대로 Gradle (Experimental) 로 바꾸니 빌드가 잘 된다.
Someone inthe thread from unity forumfinally posted a working solution. I'm gonna share it here as well so hopefully everyone who lands on the question with this issue will not have to spend 30 hours blindfolded, resolving dex merging conflicts like I did.
Turns out that with new new version there is a few more options in thepublish settingsthat needs to be set!
quotingRealPpTheBests' answer
Go to player settings > Project Settings > Minify, in there, there will be an option of Release, set it to Gradle .
For some reason when choosing gradle build these two are not automatically toggled, and maybe in some cases they don't have to be. But setting minify toGrable (experimental)completely resolved all the build errors I was getting after updating unity.
EDIT: september-2019 - Solution above should still work, but:
I have lately been experimenting with choosingProguardinstead of the experimental Gradle minifier (can be selected in the dorpdown as well). When configured correctly proguard will also resolve your DEX limitation errors, and get rid of unused code and even compress your build size even more.
This posthas a quite throughly detailed guide on how to enable and configure it. Keep in mind though, that the configuration will be unique to which dependencies you are using, so you will have to read up and do some custom configuration here most likely.
Project Settings -> Player -> Publishing Settings -> Minify -> For Both Release and Debug = "Proguard" solved the problem (after importing Facebook SDK)– Ahmet HayrullahogluNov 23 '19 at 9:56
1
Glad to hear that my edited solution from September also worked in your case! That means it will probably work for more people.– Rasmus PulsNov 24 '19 at 19:26


